


BYZANTINE STITCH
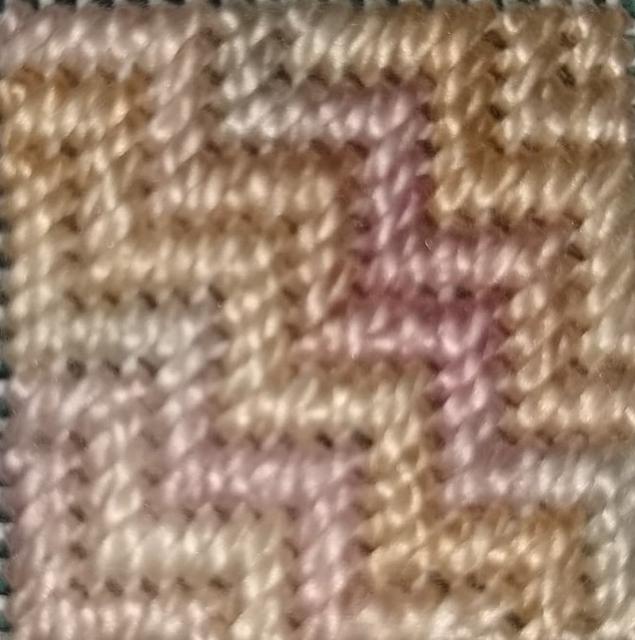
The Byzantine Stitch is a quick and easy stitch suitable for filling large areas of canvas. It is similar to the
Byzantine Stitch (Diagram 1):
Bring the needle up at A, move up and to the right over two canvas intersections, bring the needle down at B. Bring the needle up at C, move up and to the right over two canvas intersections, bring the needle down at D. Bring the needle up at E, move up and to the right over two canvas intersections, bring the needle down at F. Bring the needle up at G, move up and to the right over two canvas intersections, bring the needle down at H. Bring the needle up at I, move up and to the right over two canvas intersections, bring the needle down at J. Bring the needle up at K, move up and to the right over two canvas intersections, bring the needle down at L. Bring the needle up at M, move up and to the right over two canvas intersections, bring the needle down at N. Bring the needle up at O, move up and to the right over two canvas intersections, bring the needle down at P. Bring the needle up at Q, move up and to the right over two canvas intersections, bring the needle down at R. Bring the needle up at S, move up and to the right over two canvas intersections, bring the needle down at T. Bring the needle up at U, move up and to the right over two canvas intersections, bring the needle down at V. Bring the needle up at W, move up and to the right over two canvas intersections, bring the needle down at X. Bring the needle up at Y, move up and to the right over two canvas intersections, bring the needle down at Z.
This completes the first row of Byzantine Stitches. Continue on to Diagram 2 to see how the next row is worked into the first...
Byzantine Stitch (Diagram 2):
The second row is worked into the first row from bottom to top. The next row and all subsequent rows would be worked in the opposite direction of the row before.
Jacquard Stitch, except for the added rows of continental stitches that separate the Byzantine Stitches within the Jacquard Stitch. The Byzantine Stitch creates a step-like pattern. The size of the steps may vary. For a more interesting look, try using more than one color yarn. Two diagrams have been used to demonstrate this stitch.
 | ||||||
Stitch-opedia
An encyclopedia of needlepoint Stitches...
Copyright 2006...Stitchopedia...All Rights Reserved
*Stitch Index*
Select the first letter of the stitch you are looking for...
*Stitch Index*
Select the first letter of the stitch you are looking for...
| ||||||